Persitaltic pump NEMA17
Summary
I made a very simple peristaltic pump, to be printed as fast as possible and with a few parts to do some tests with glycerine. It is attachable to a NEMA 17 stepper motors as it is part of a larger project where it must control dispensed volume.
Here are the CAD files. Here is the github repository.
Design
A peristaltic pump is a good option when the fluid to pump is viscous, it is also very simple and clean, as the fluid is contained in a hose. The hose is pressed to push the fluid in one direction or the other with a circular motion. To eliminate friction that will try to displace the hose is that bearings are used to press, reducing the tangential force.
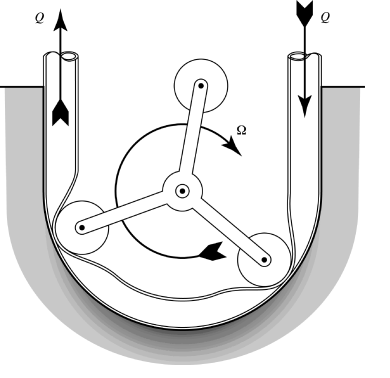
This pump has to be attached to a NEMA 17, so the case dimensiones where restricted to a similar size, also a 5 mm axis with a D cut. With a gear box the system will work more smoothly, but it will complicate the things a little bit, so maybe i will do that in another version.

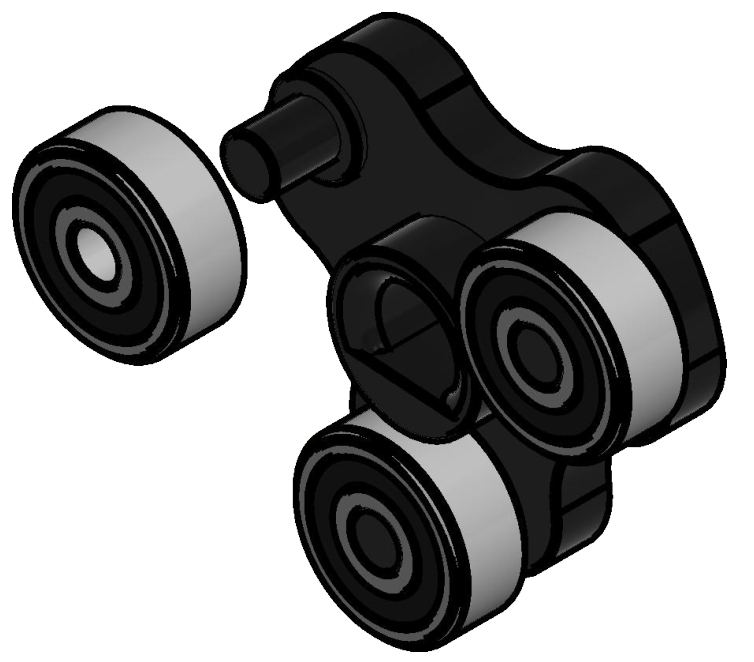
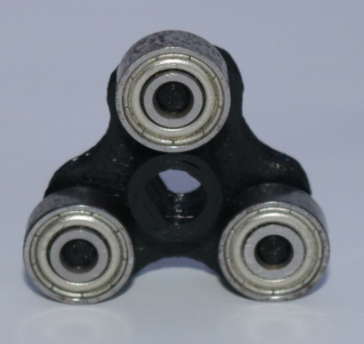
I used the smallest bearings that i had, 3x10x4, in a triangular arrangement for the impeller, the bearing are press fit in the impeller, and the impeller is press fit in the shaft until the end of the D cut. The bearings should roll only on the hose and not in any other surface, because it will ad friciton.
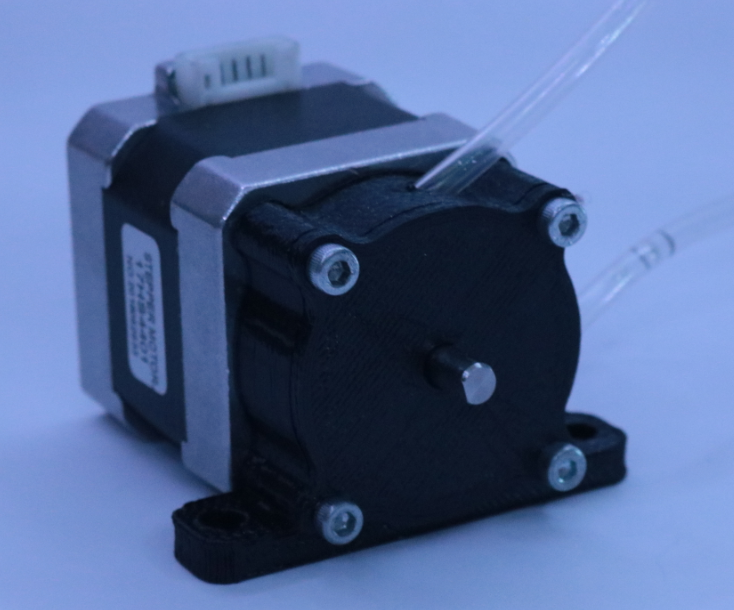
The lid is to prevent dust, broken fingers (naah) and to keep the hose in place if it tries to come out.
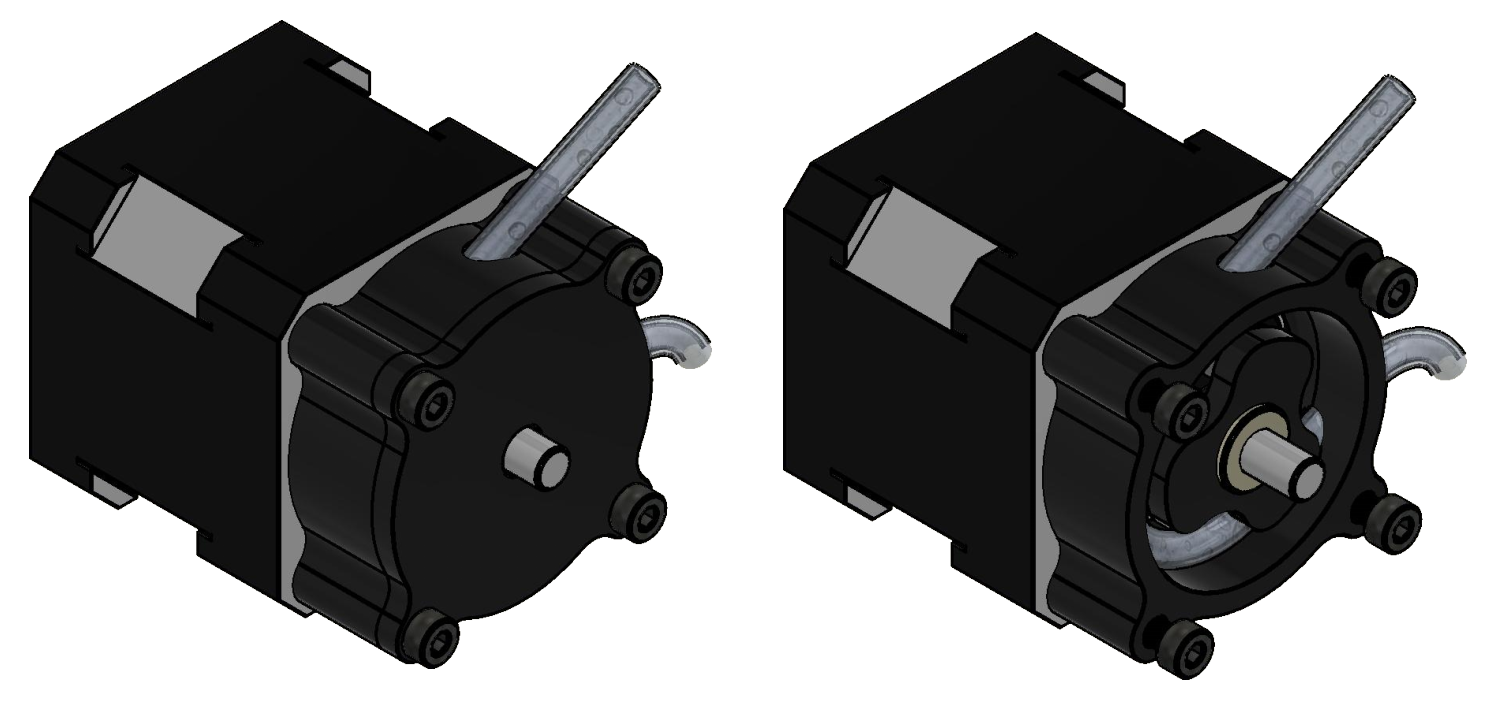
As everything is small, so it is the hose (4 mm outside diameter), this will make the volume delivery more accurate, which is one of the goals of this project.
Parts and materiales
| Item | Quantity |
|---|---|
| Case | 1 |
| Impeller | 1 |
| Lid | 1 |
| Bearing 623zz | 3 |
| Bolt M3x20 | 4 |
| M5 Washer | 1 |
| NEMA 17 | 1 |
And a 4 mm soft hose, i think that i got mine from a medical drop counter.

There are two version of the case, one with a mounting base holes and the other one smaller without this.
The washer is to prevent friction from the impeller against the lid. The distance from the end of the D cut to the stepper face may vary, so you may have to change the length of the impeller so it fits properly inside the case.
Manufacture
3D printing
I printed the parts with PLA, 0.3 mm layer height and without supports nor raft. The impeller is a small piece so you can print it slower and with smaller layers to get the bearing pins just right.
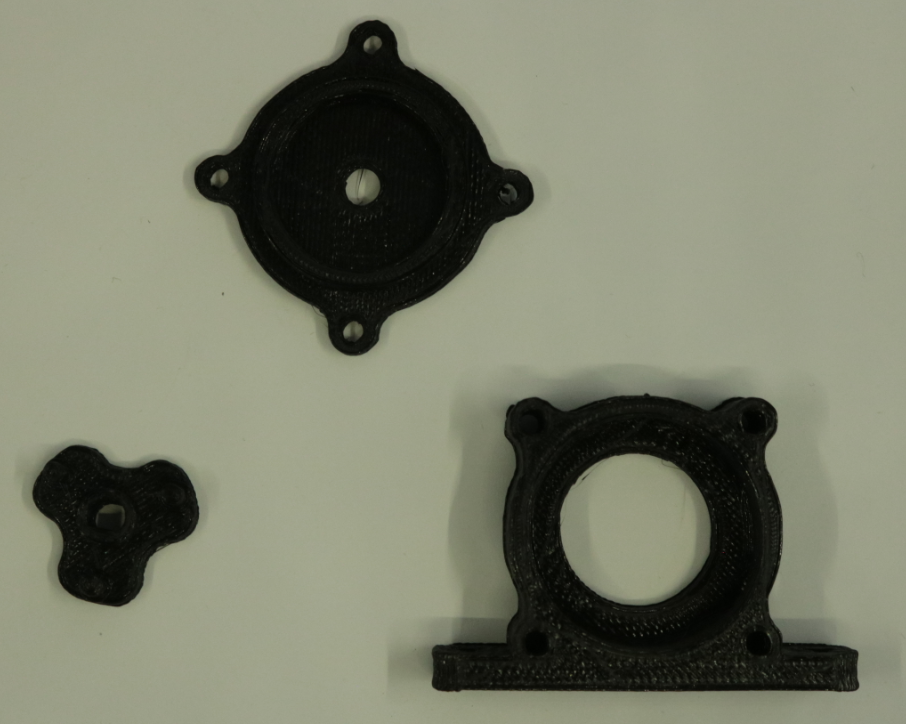
I think that the orientation is pretty obvious: by the flat side. It is important that you adjust the tolerances in the parts, as your printer may be different than mine.
After printing remove any extra hair or leftovers and maybe repass the holes with drill bits.
Assembly
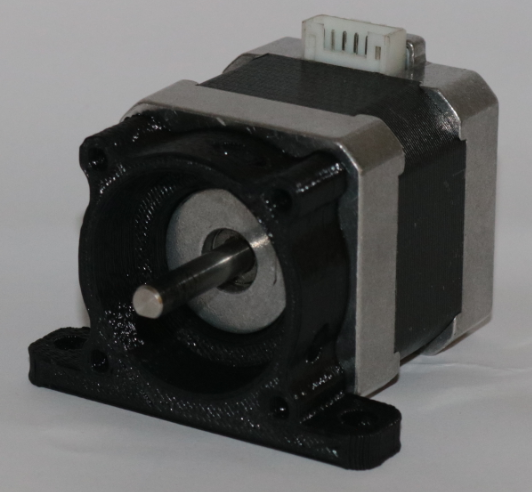
- Put the case on top of the stepper, the inner circle shoul fit tightly on the stepper.
- Push the bearings into the pins of the impeller, until the end of it.
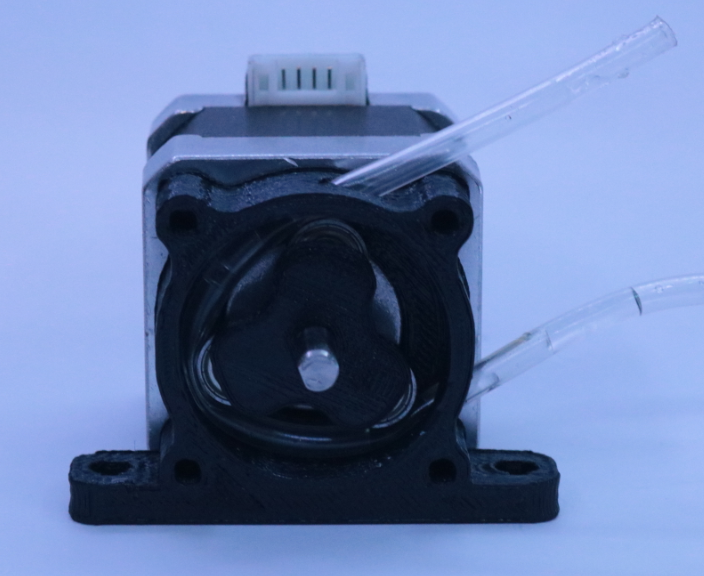
Press the impeller against the stepper shaft with the bearings facing down until the end of the D cut.
Pass the hose through one of the holes in the case and pull it gently with pliers until it comes out through the other hole. Turn the impeller with your hand to make way. Do not allow that the hose comes up.
- Close the pump with the lid and bolts.
Tests
Electronics
A good option to control a stepper motor is to use a driver (like the A4988), and a better one if you are using an Arduino is to add a shield (like the Arduino CNC Shield) with ports for a driver and write a simple code.
I did not have any of this but a 3D printer with similar motors, so i plugged the pump to the X axis and used the printer interface to actuate the pump and it worked, so i got some electronics later.

These are the electronics:
| Item | Quantity |
|---|---|
| Arduino UNO | 1 |
| Arduino CNC Shield | 1 |
| Stepper Driver DRV8825 | 1 |
| 12 V Power Source | 1 |
| Stepper Motor NEMA 17 | 1 |
The model of the motor is 17HS4401, do not forget the connector wire and the Arduino USB cord. The wiring is pretty easy thanks to the shield, connect everything like the image is showing except for the motor.
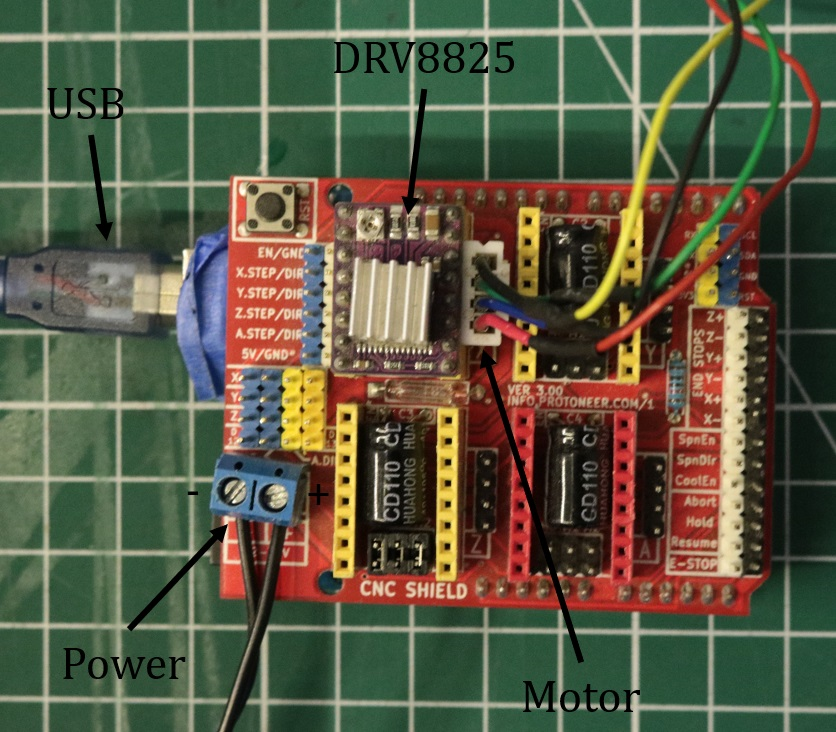
Then, calibrate the driver with a screwdriver and a tester, i set the Vref to 0.3 V and the stepping to 1/32. There is a guide here. Now plug the motor.
Software
I wrote a simple program in Arduino, which asks how many ml of fluid the user desires (with the serial monitor), waits 5 sec and then transforms that into steps. There is a variable to control the speed and the constant that relates ml with steps that must be calibrated with experiments.
Setup
I 3d printed a piece to hold the syringe backwards next to the flask with glycerine. Before testing you must prime the pump sucking the output side of the hose until glycerine comes out, or with a syringe.

Tests
I did some calibrations to get a good relation ml/steps, the actual precision is enough for its purpose. The current firmware is in the src folder in the Github repository. There is also a video in the vid folder, where the pump is set to dispense 10 ml.
Further work
- To make a bigger version for a a bigger hose.
